
By Chris Pranger

Session 13: Vah Ruta - The Final Session
Here it is, my final Riding the Backlog session with Breath of the Wild. I’ve been using my exercise bike as a means of adding physical activity to an otherwise non-physical thing, and then writing about the experience for the blog here. Not everything can last forever though.
The decision to end this series with the Vah Ruta dungeon rather than going all the way to the end and beyond has come with the knock-on effect of the current process. As it stands, while sitting on an exercise bike and playing the game, I’m also trying to take relevant pictures and type out some basic notes to remind myself what I’ve been doing. Then I have to send all the images to my Twitter account and save those manually to my laptop, write up the session, edit it, add the images, and send it to Kyle for him to post when he has time.
Bottom line, what all of that means is that I turned something fun into a chore, and so I was both consciously and subconsciously avoiding it. I plowed through Super Mario RPG in 15 sessions within a month, and Dragon Ball FighterZ in an 8-session series over the course of two weeks. Banjo-Kazooie’s 10-session run happened within a month as well, but Breath of the Wild has slowed down to an absolute crawl, keeping me from enjoying it as much as I’d like.
I am however finding a lot more about the game that I enjoyed than I first realized during my Wii U playthrough. Some things that bothered me in the past don’t bother me now, and I’ve come to appreciate some design choices on an entirely new level. But it’s time to close the book on Breath of the Wild, so let’s do that with Vah Ruta the elephant.
When we last left off, Prince Sidon of the Zora had tasked me with collecting Shock Arrows for an encounter with Vah Ruta, the Divine Beast traditionally piloted by the Zora people. I managed to climb up a cliff where I found and fought a Lynel, rewarding me with some beefy new weapons and a bevy of Shock Arrows.
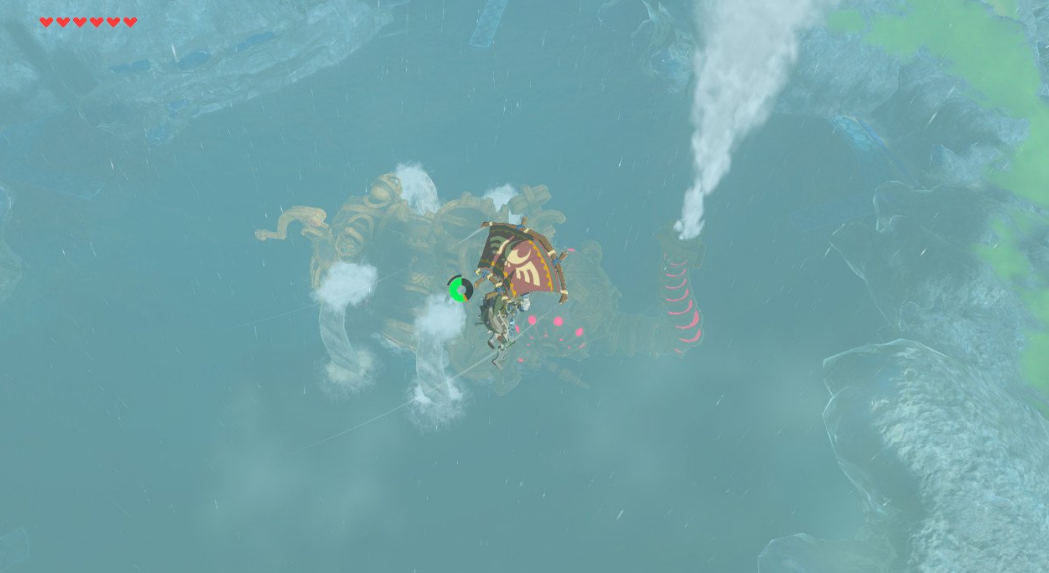
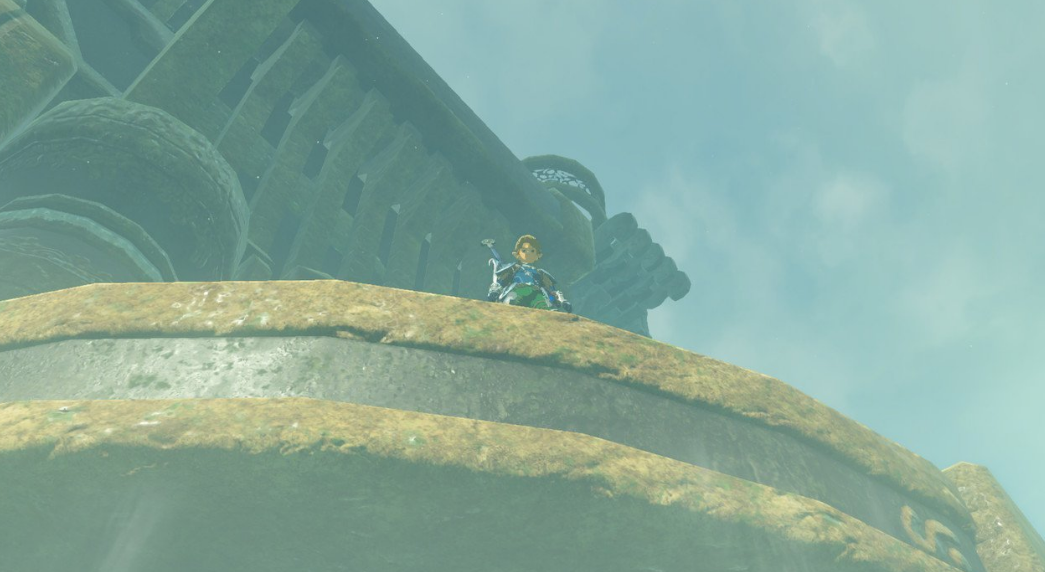
With my gear ready, I pinpoint Vah Ruta in the lake at the bottom of the cliff and take a running leap, gliding down toward it. Part of me became immensely curious why I couldn’t just glide down and land on the Divine Beast this way rather than go through the song and dance of fighting it, so I lined myself up with its back. Right before touching down, a massive magical barrier appears around the mechanical elephant, shooting me away. OK, fair, they thought of that eventuality, good.
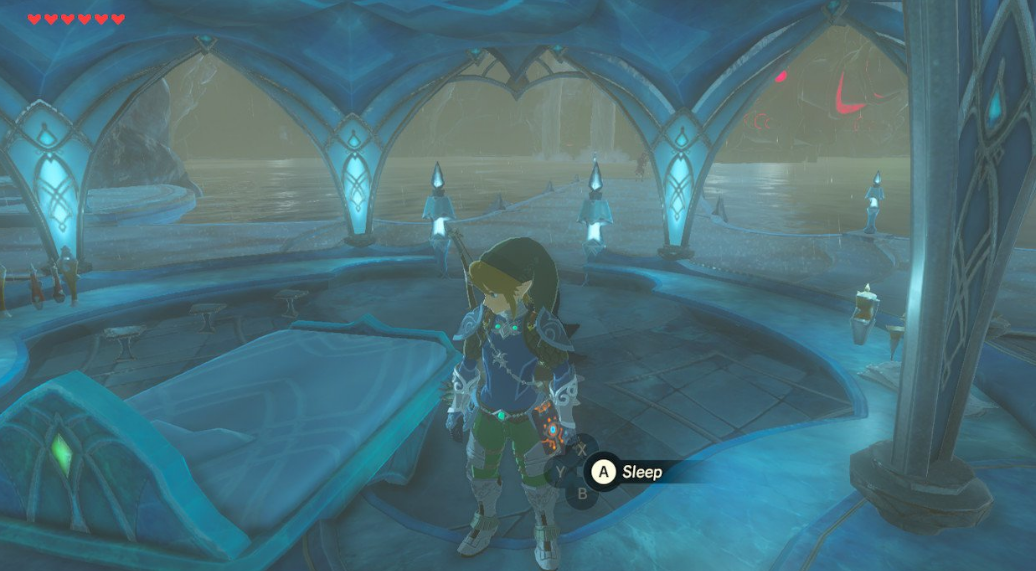
Since I was out of stamina and thrown into the water, I almost immediately “drown,” sending me back to the last solid ground I had been standing on, that being the cliff above the lake. I reset myself and glide down once more, this time aiming for the pier next to it. I even notice a little bed next to the pier that looks beautiful and very out of place. Well, when in Rome (or the Zelda equivalent of Rome). I rest up to revitalize my hearts and then go speak with Prince Sidon.
He lays out the plan, which will involve me riding on his back while he swims us near to Vah Ruta. Water is gushing conveniently out of the four legs, allowing me to utilize my Zora Armor to swim straight up and fire some Shock Arrows at glowing orbs on the top of each leg. Simple, yeah?
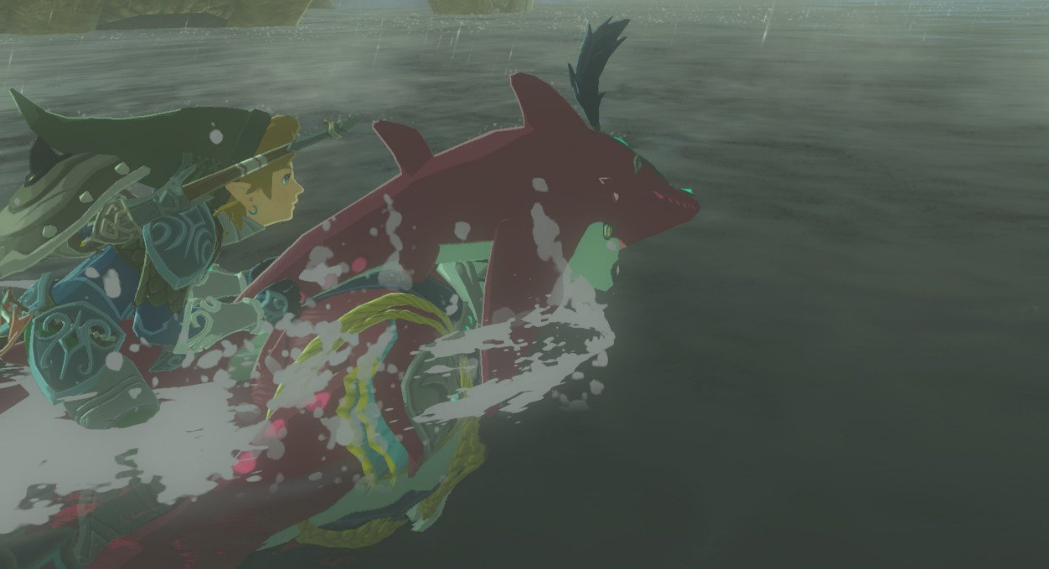
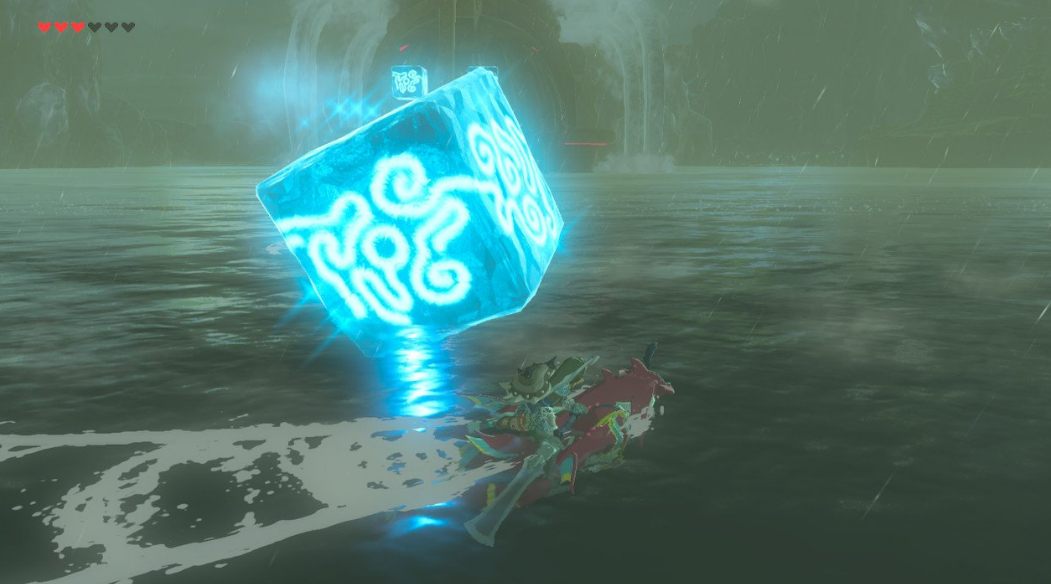
Well, it IS pretty simple as soon as I figure out what the game wants me to do. Riding on Sidon looks cool, but I have zero control over his movement. Vah Ruta continually forms ice blocks and shoots them at us, homing in on our exact location, requiring me to bat them away. At first I have a small boomerang equipped which has no range at all, meaning we keep eating ice blocks. Once I switch to a two-handed claymore I manage to have the length necessary to smack the blocks out of our path, and when I manage to properly parry the blocks it feels cool, but the timing is really specific and easy to bork.
After enough ice blocks, Sidon brings me over to a leg waterfall, letting me swim up and take a shot. Tagging the shoulder orbs is no sweat, but I feel like I should be hitting more than one at a time. My stamina meter is still too small to effectively peg all four orbs at once, so I have to settle for one at a time.
Eventually Vah Ruta changes the ice blocks into spiky ice balls, which require something more precise than my bulky sword. Specifically, I need arrows. I pull out my bow and switch to regular arrows, shooting the spike balls away until I’m able to swim up another leg. At one point I tap into my inner Wild and manage to shoot the last two shoulder orbs in a single go, which feels damn cool.
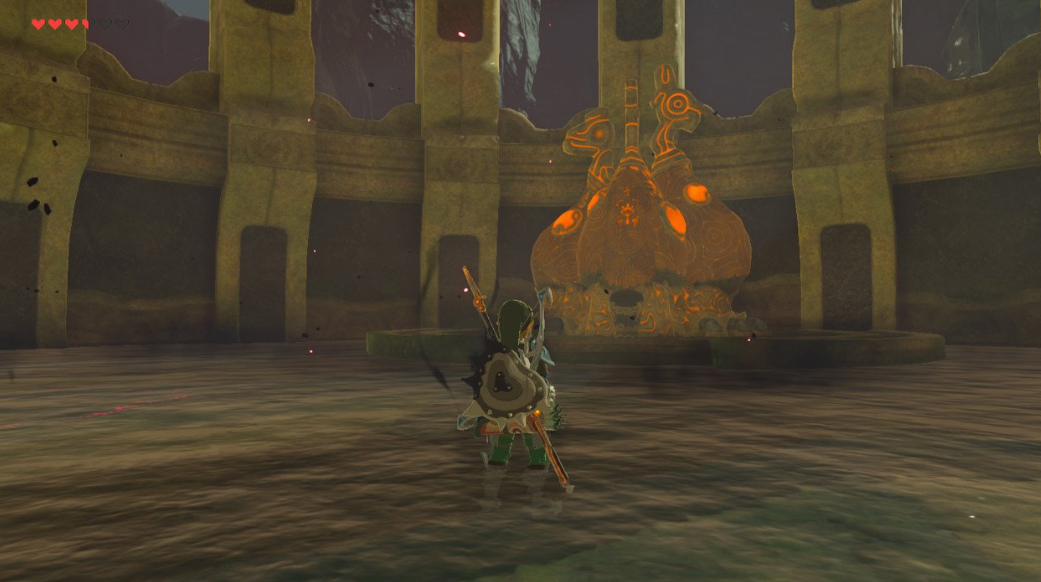
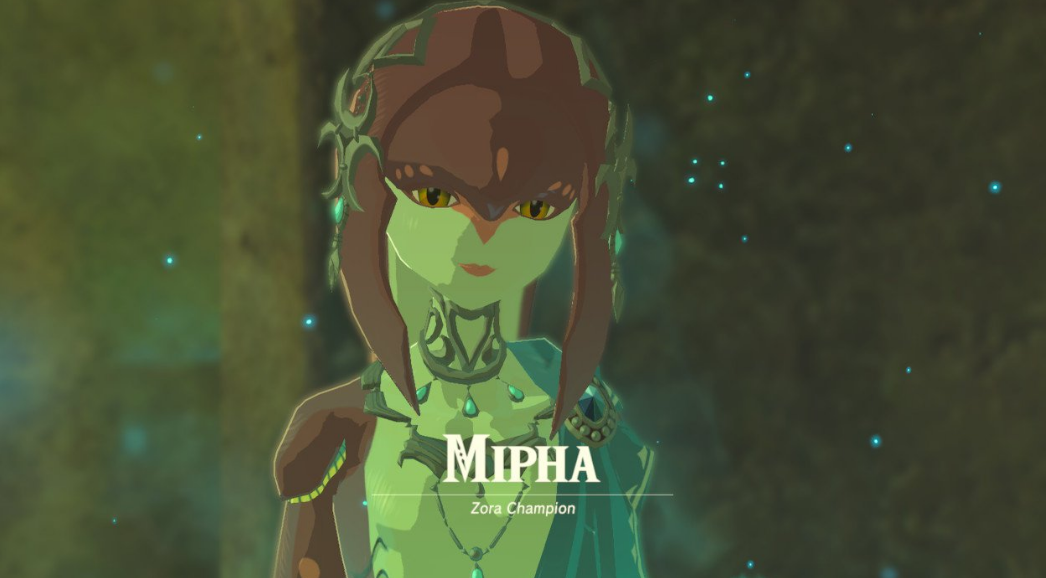
Now that the elephant beast is subdued, I’m able to hop on a platform and climb into it. Almost immediately I hear a familiar voice belonging to Mipha. Unsurprising, she is dead and her spirit is still within Vah Ruta in some form. She explains that I need to go into the corrupted Divine Beast and find a map. A map for a...dungeon? A DUNGEON!
Breath of the Wild makes Zelda fans long for dungeons in a way no other Zelda game ever has. Doing shrines doesn’t cut it, leaving me wanting something far more satisfying and complex. Think of the shrines like chips. Sometimes they taste good, but overall you need to eat a handful to even really feel like you got a bite. These Divine Beast dungeons are like seeing someone bring out a full sandwich.
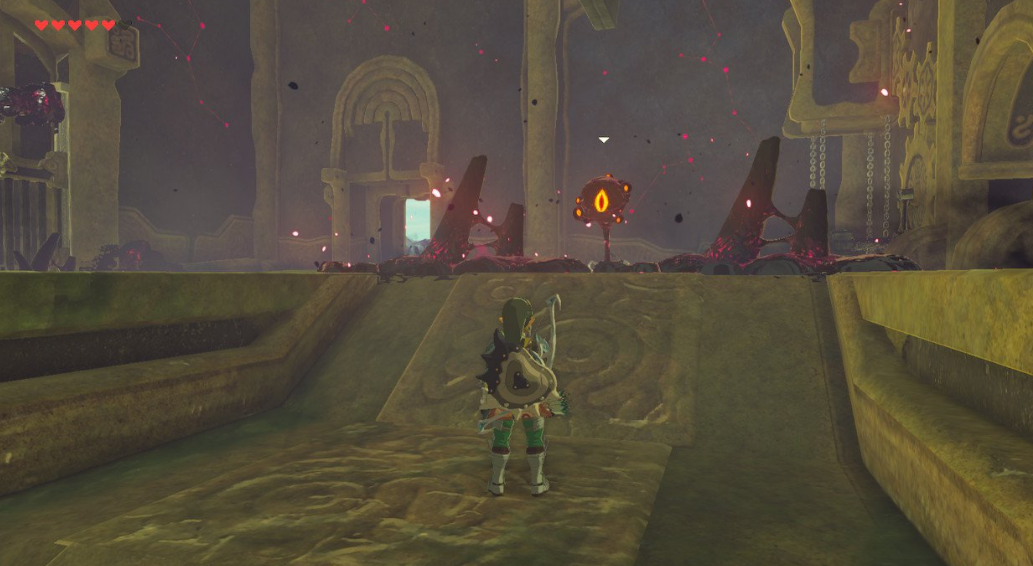
Or at least it WOULD feel like that if the Divine Beasts had enough to feel like a full dungeon. Vah Ruta’s insides look very much like a shrine on steroids, though in addition to mini guardian robots I also have to contend with little bits of corrupted sludge, usually cleaned by simply finding the vulnerable eye and shooting it with an arrow or slashing it with my sword.
The puzzle to get the map (which is just another data distiller for my Sheikah Slate) requires me to kill a corrupted eye to release a gate, then create an ice block with cryonis to lift it up. I’m disappointed that upon entering the first even somewhat traditional dungeon I’m met with essentially the exact puzzle I was presented with in the tutorial shrine.
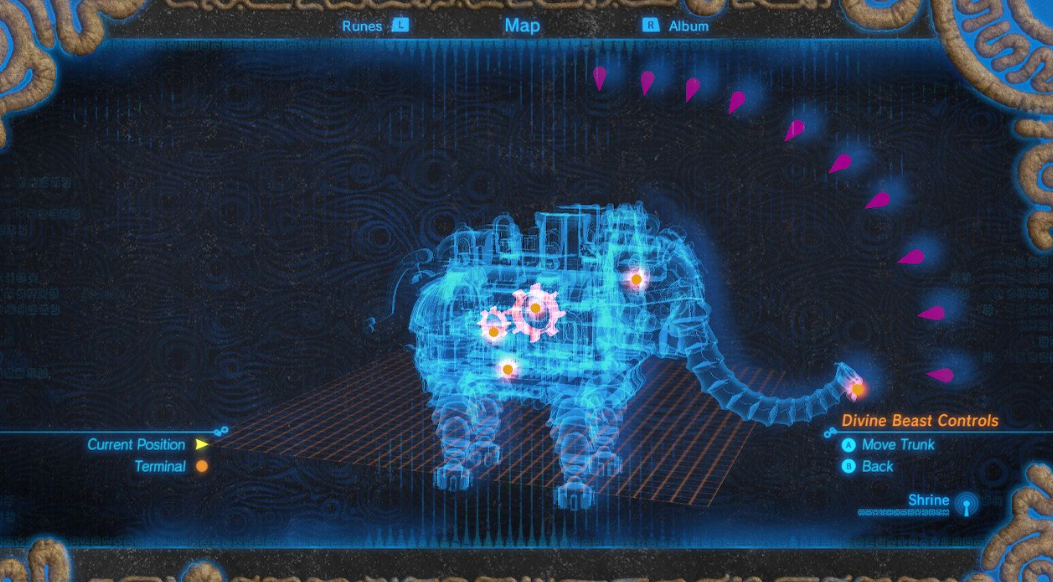
Getting the map is actually somewhat cool as the Divine Beast maps function entirely differently than maps previously. Instead of laying things out flat, it gives me a 3D model of the Divine Beast as well as some rudimentary controls over it. In the case of Vah Ruta, I can control the angle of its trunk to spray water in different spots on the dungeon.
The map also shows me five blinking spots representing more data distillers I need to activate in order to fully reclaim control. The terminals are in fairly obvious places, but each one will still require me to solve another puzzle. Unlike traditional dungeons, there’s no specific order for things, no having to find keys or locate a new item or anything like that. Instead, it’s a free-for-all to just get the job done.
After a moment of exploration, I see the largest internal fixture of the great elephant: a large rotating wheel. This feels like another instance of a minor shrine repeating itself with the challenge being to figure out how to get inside a closed cage to access a terminal. A glowing orb will slide back and forth on the wheel, sometimes clicking into place to open the cage. Instead of doing something clever like freezing the orb in place with stasis, I opt to just jump inside the cage while it rotates upside-down. This also proves a foolish maneuver as spikes line the top of the cage, which means I should get skewered when the wheel flips with me in it. Instead, I manage to cheese this by standing in the opening to the cage until the door shuts, which at this point means the cage has rotated to a safe angle again. My ability to work around the established solution is still very satisfying and something I appreciate about this game from time to time.
Continuing through the body of the beast brings me to an opening with a dead-end. I quickly deduce that the problem is the elephant’s trunk itself. Going into the map, I lower it so that it’s no longer blocking this exit to the outside.
One truly stellar aspect of Vah Ruta is that the dungeon doesn’t confine itself to the inside of the mechanical monster but opens up and allows me to explore the outside as well, placing me firmly within the larger map of Hyrule. If I fall from the Divine Beast it still acts as if I fell into a bottomless pit and resets me, but the aesthetic is impressive.
I take the chance to play with the trunk a bit, lowering it and then raising it until I’ve figured out what it wants me to do. Namely, I lower the trunk, glide to the end, then raise it up with me on the tip. There’s a terminal on one side of it that I have to activate by carefully maneuvering around while raising the trunk to the correct angle, but once that’s complete I can continue my search inside.
There’s a button on a floor high up that creates a waterfall/shortcut for me, which doesn’t do a ton since it’s not like the dungeon is overly large or complicated. What is a bit more fun is finding a metal crank that my magnesis rune can grab and manipulate, turning it until a terminal raises up. Said terminal is also engulfed by flames, so I have to raise Vah Ruta’s trunk to the correct angle to spray water and douse these flames, allowing me to access the terminal.
Backtracking to the start of the dungeon shows me another crank similar to the first one I found. Sadly, this one was clearly the tutorial crank as all I have to do is turn it and raise a terminal out of the water. For a dungeon with five terminals and one map station, you’d think they’d strive to avoid repeating the same puzzle in the same area, but am I a legendary developer? I am not.
Also strewn about the dungeon are treasure chest filled with useless treasure. Small things mostly, stuff that I can’t even remember properly except for a Silver Rupee that pushed my Rupee total past 1,000. Nice, that house in Hateno is as good as mine!
I check my map and see one last terminal next to where I’m standing. A smaller water wheel is turning independent of the room-sized one, pushed by a waterspout spraying water at it. I pull out my cryonis rune and freeze the spout, stopping the water wheel from turning and giving me access to the last terminal.
It’s certainly cool that Vah Ruta is a dungeon that’s found a use for each of my four runes, letting me turn a crank with magnesis, open a gate and stop some water with cryonis, stall some blocks to grab treasure with stasis, and attack some simple enemies with my bombs. I used my melee weapons against a few mini guardians and my bow against corrupt eyeballs. Overall, though a lot of those were optional, I feel like all of my skills and abilities were tested. Not hard, but enough.
With the five terminals scanned, Mipha tells me to head to the heart of the beast and activate the main terminal there. Getting close begins the dungeon’s bossfight against a gnarly creature named Waterblight Ganon. Mipha explains that this was the thing that killed her 100 years ago and is the cause of Vah Ruta falling under Ganon’s power, so it sounds like the only thing to do is kill it dead.
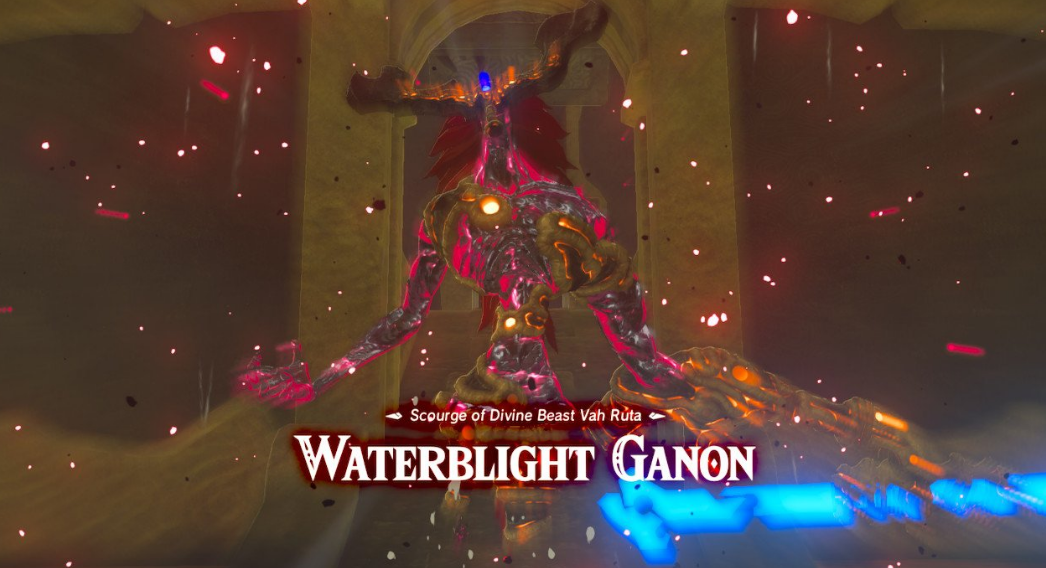
Waterblight Ganon isn’t a complicated fight, just an annoying one. It can attack with a preposterous range using a long spear, but having equipped an ancient melee weapon (which has added power against Guardians and bosses) lets me tear through the first phase of the bossfight in a stupid-fast amount of time.
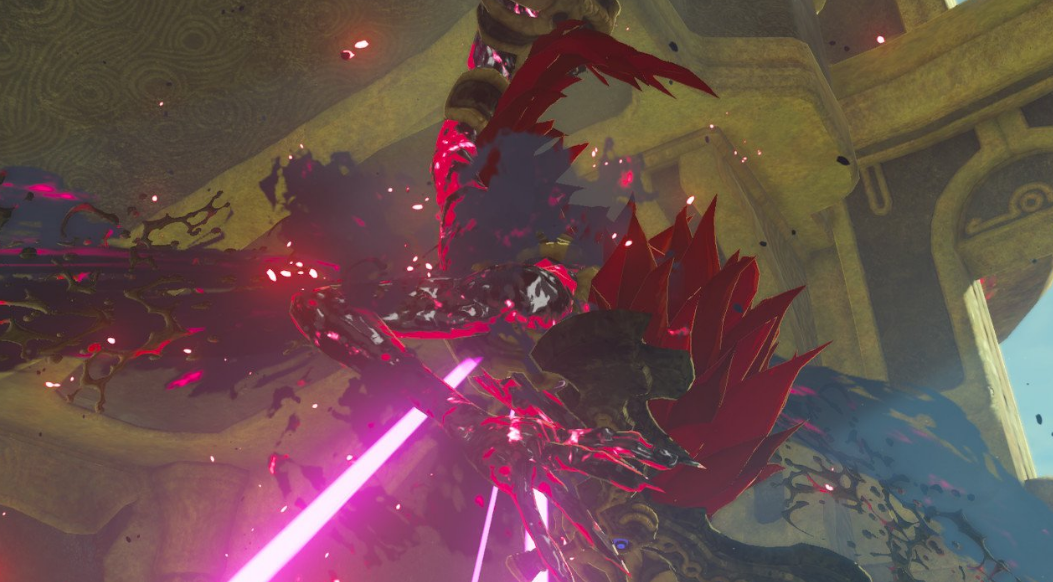
For the second half of the fight, the water around Link’s feet rises, forcing him to fight on one of four platforms poking out from the water. Waterblight Ganon opts to hang from the ceiling over one of the four platforms, either chucking its spear at me, or shooting me with ice blocks.
The ice blocks are incredibly frustrating. First the fight consists of one at a time, then it ramps it up to three, and finally five. By that point your only real hope of deflecting all the ice blocks is to just plow through and nail Waterblight Ganon with a critical hit in the eye, stunning it and allowing you to dash over and start slashing.
Before long the fight is over and Vah Ruta is free. Just like in any Zelda dungeon, my reward is a Heart Container, upping my health by one. Sometimes it’s just nice to experience the parts of a Zelda game that always were and always will be. I wish there were far more of those moments in Breath of the Wild.
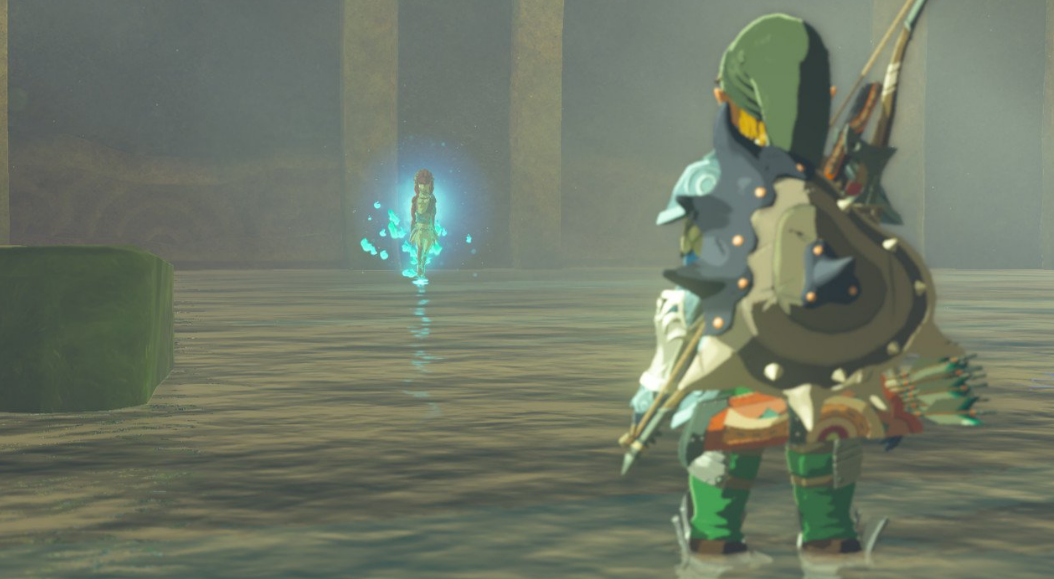
Mipha appears in the ghostly flesh, assuming ghosts have flesh, which they do not. She glows at Link, explaining that with Waterblight Ganon killed, her spirit is free. She also tells me how happy she is that she could see me once more as that was her final wish before she died. Before sending me from the dungeon, Mipha says, “Save her, Link,” referring to Zelda. Mipha is tragic in all senses of the word. She’s clearly in love with Link and Link is just enough of a degenerate to ignore that and keep his eyes set on Princess Zelda. That’s cold, man.
Finishing the dungeon locks it, meaning I won’t be able to return even for some giggles. It suddenly makes sense that all the chests in the dungeon contained mostly inconsequential knick-knacks rather than rare one-of-a-kind items. It’d have lost my mind if I discovered that I’d missed out on something cool without realizing it.
Along with my new Heart Container, I’m rewarded Mipha’s Grace, an ability that is truly bonkers powerful. Each of the Champions grant me a special power since they themselves can’t use said power anymore (being dead and all), so Mipha’s last parting gift is her healing ability, activated when Link depletes all of his hearts. Mipha’s Grace will instantly kick in, healing him back to full strength like a fairy on steroids. In essence, it gives Link two health bars, though her power takes a while before I can use it again.
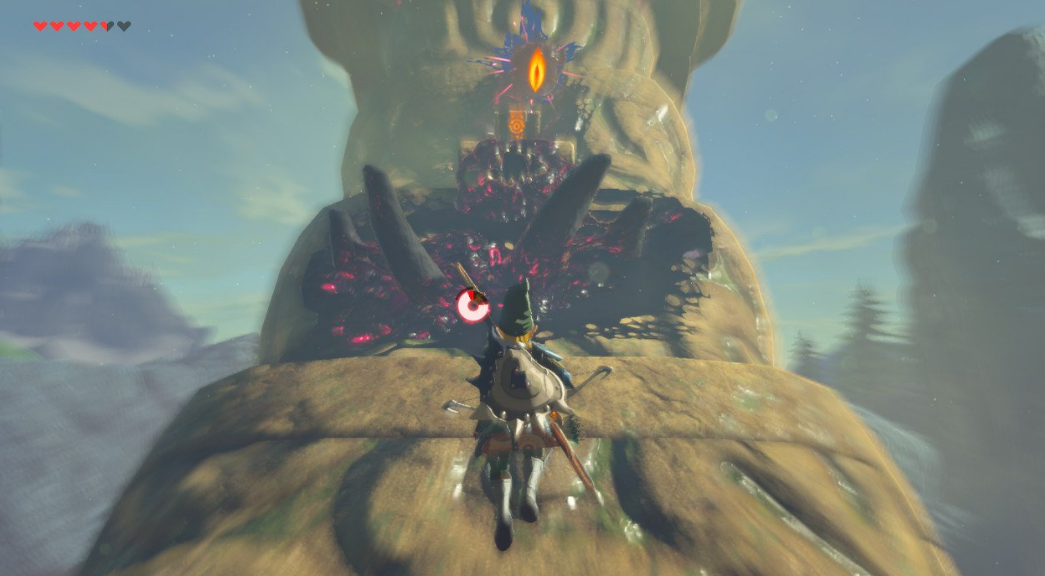
After ejecting me from the Divine Beast, it starts on the move, heading downstream, ultimately climbing up to the top of a mountain pointed at Hyrule Castle. It lifts its trunk and its tusks extend out in a weird mechanical way before charging and firing a beam directly at the castle.
Again, Mipha’s story is truly heartbreaking. Her spirit continues to pilot Vah Ruta and from her vantage point on the mountain she can also clearly see Zora’s Domain and her father. She says that she wishes she could be with him but that it’s just not possible. You know, I’m aware that Link didn’t actually make a mistake 100 years ago other than not being controlled by me back then, but I definitely see why all the older Zora were so agro at him for letting this sweet fish girl die in what must have been a pretty miserable way. Heck, her spirit wasn’t even allowed to move on to the afterlife since she was trapped in a big damn elephant. The Hyrulian afterlife is terrifying.
Link reappears in Zora’s Domain to speak with King Dorephan and Sidan one last time. All the Zora are gathered around to thank Link for putting a stop to the perpetual rain, laying Mipha to rest, and restoring balance to their corner of the world. Even Muzu comes around, admitting that I’ve done a good job and that Mipha must have had a good reason for putting so much stalk in me.
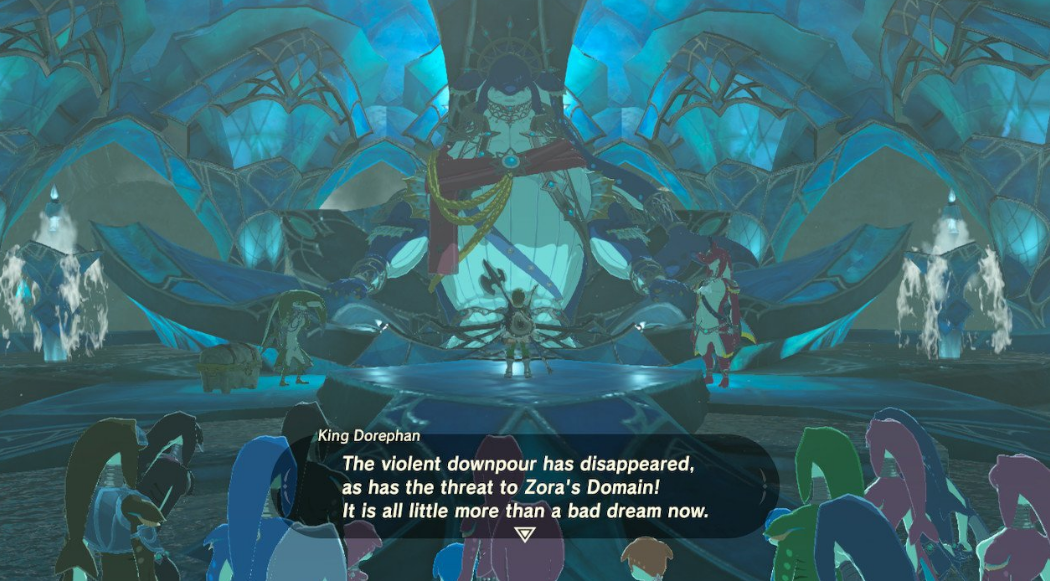
The king finally brings up something that I’d totally forgotten about: the Master Sword. It’s not named quite yet, but at last I’m told about how it’s curious I don’t have my legendary blade. That’s a sidequest for another day.
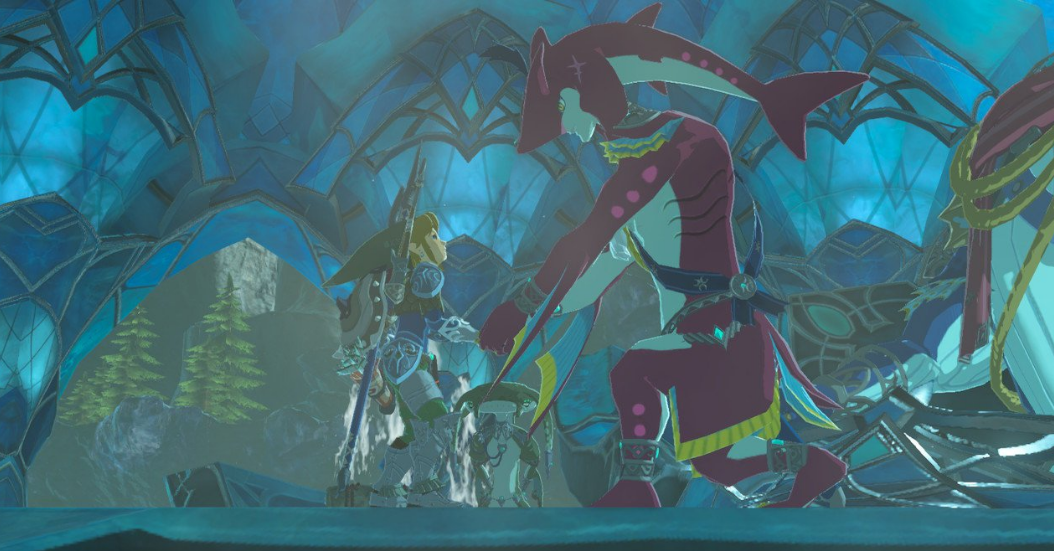
I feel very stupid just now realizing this, but in this cutscene with the sun shining and the grey haze wiped away, I finally make the connection and notice that Sidon’s head looks like a shark. I’m dumb enough to now see that ALL of the Zora have shark heads, or manta ray heads in the case of Muzu. They have a cool design, I’ll leave it at that.
As further thanks for success, King Dorephan gives me Mipha’s signature weapon, the Lightscale Trident. It’s a pretty cool looking spear weapon, but it’s nothing special. These champion weapons are sort of silly to me as they’re no stronger than the other weapons I’ll pick up along the way, but they still break like everything else. A broken Champion weapon requires a trip back to their village of origin to have it specially repaired by the town’s resident smith. I wish these weapons were just a permanent emergency weapon that fit the different weapon categories, which would have made a ton of sense considering the four Champion weapons are a short sword, a two-handed cudgel, a bow, and a trident. Oh well.
King Dorephan asks if Mipha is really truly dead, which, yes, I’m a degenerate, but I’m not about to lie to a father about his daughter. He takes it relatively well, accepting her fate without any argument, thanking me for doing what needed to be done. I need to get away from the Zora, they’re cool but they’re really starting to bum me out.
Thus ends my backlog trip through Breath of the Wild. I’ll certainly continue playing, but this is the conclusion to my article series. This 13-part series showed me a lot about the game that I either missed or ignored on my first playthrough, and I’m enjoying myself a bit more on the second trip through the world. I look forward to experiencing the full DLC as I keep riding. See you in the afterlife, fellow riders!